Date: 8 August 2025.
Several weeks after my request, I unexpectedly receive an email from Microsoft informing me that the Computer Use tool has finally been enabled on the tenant and I now have the opportunity to test it in preview.
What is Computer Use?
I wrote an article months ago, as soon as Microsoft announced it. You can find it here:
Copilot Studio – Computer use – BEYOND THE PLATFORMS
Microsoft has introduced the Computer Use functionality in Copilot Studio, which allows agents (AI) to interact with websites and desktop applications by simulating human usage: clicking buttons, selecting menus, typing into on-screen fields.
In other words, it’s a powerful tool that interacts with whatever is on screen, simulating keyboard and mouse actions.
Power Automate Desktop vs Computer Use

Those of you who, like me, use Power Automate Desktop will notice similarities, but Computer Use is much more adaptable and dynamic, even with complex interfaces.
From my point of view and background, it’s never easy to replicate human movements in response to what happens on screen, but with the help of integrated AI perhaps we are a step ahead compared to Power Automate Desktop.
Activating Computer Use
After signing in to my tenant, I proceed on a US-based environment, because at the moment it has only been released in that region.
I update Power Automate Desktop to the latest version if I haven’t already done so.
Configurations
If you don’t have a usable Machine, you need to create one.
Here’s the link to the detailed steps:
Manage machines – Power Automate | Microsoft Learn
If you already have a Machine, well… it’s easy!
First of all, I check if it is online.

On Copilot Studio, I then create a new agent. It’s important to check that orchestration is active.

From the top menu, I click on “Tools” and then “Add a tool”.
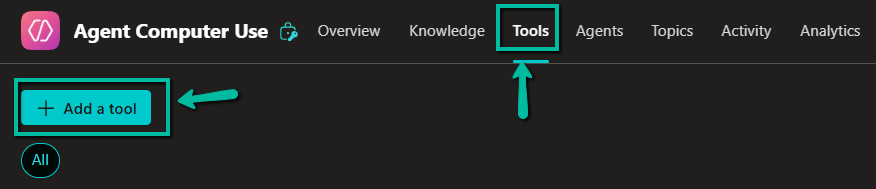
A popup opens and I click on “New tool”.
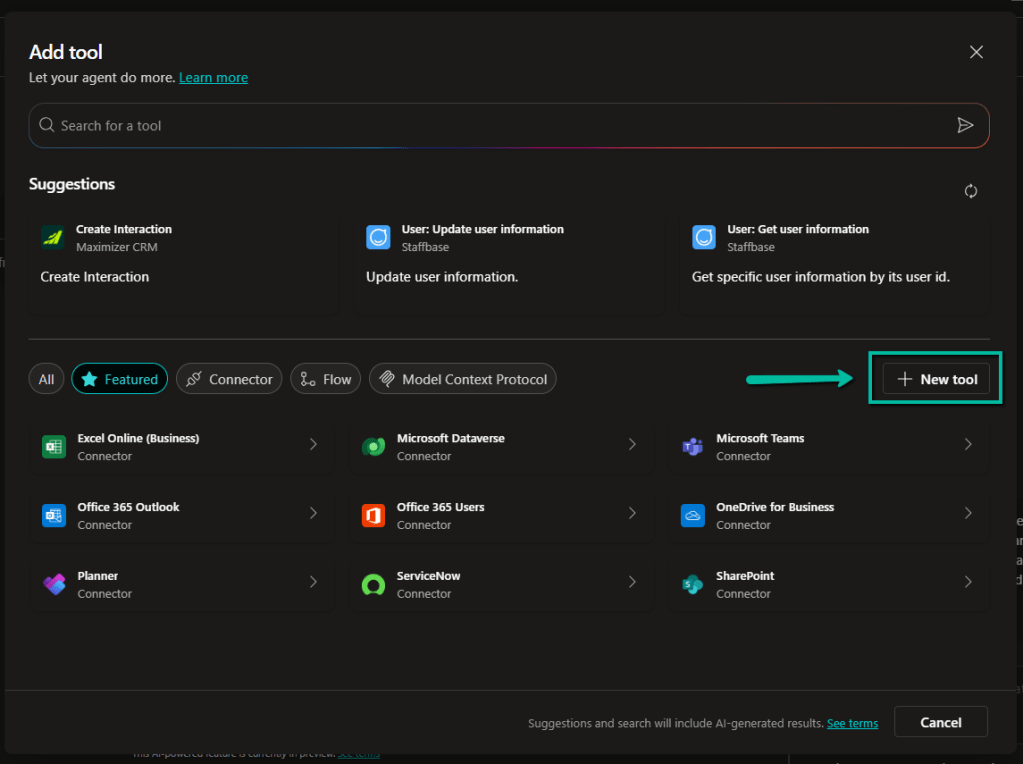
At last, the much-desired icon appears.
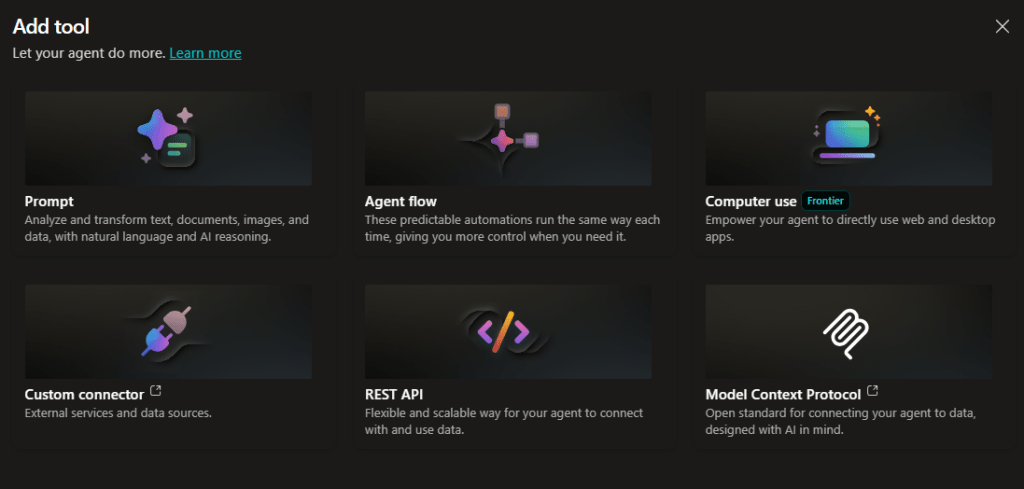
I select “Computer Use”. The panel pre-loads the various connections if you already have any; I then click on “Add and configure” to create a new tool.
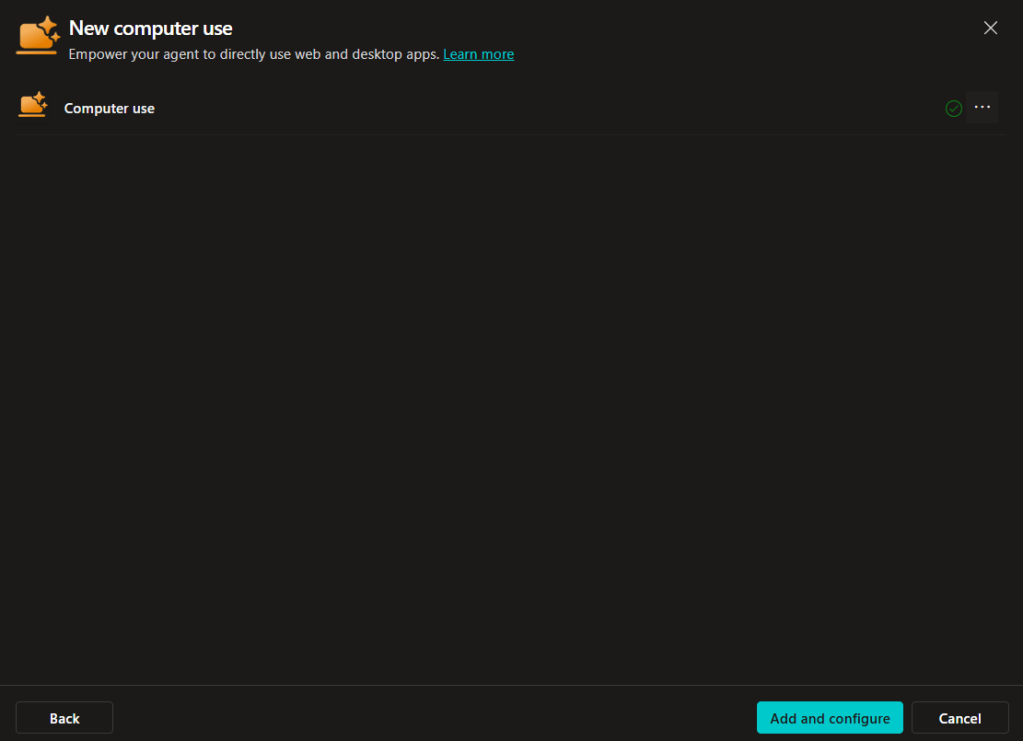
After waiting a few seconds, the configuration interface appears. As we can see, we have:
- Details: name, description and instructions, credentials to use.
- Inputs: ability to create dynamic variables that adapt to the context in which they are used.
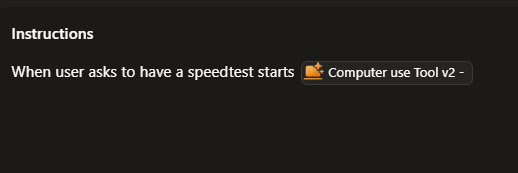
This is how I configured my tool. Always keep in mind that the “Description” and “Instructions” fields are fundamental.

In this case study, I’ll do something very simple to understand how effective this technology is.
You can test the tool or save and immediately try your agent with the connected tool.
In the agent’s instructions, I add this:
Agent Test
Let’s test our agent, which will activate the tool when the user asks to perform a speed test.
Considerations
What I’ve created is a simple example, but just think of the possible applications:
- Automated data entry (e.g., from PDF to web form)
- Invoice processing
- Data extraction from websites
- Multi-step workflow automation
- Automated market research
Microsoft has generated considerable hype, but honestly, we are still “behind”.
Bear in mind that it is in preview mode so everything can change, improve, and become more effective.
Definitely a tool with great potential.
And you, which process would you like to automate first?
Boom, done 💣!
Follow me:

Leave a comment