How can I provide visual support in a chat with a conversational agent? In other words, can I give the user the ability to see an image supporting a specific topic?
Certainly! Let’s see how.
Premises
There are different approaches, and this makes finding the best solution a bit critical, but let’s focus on the main topic.
For convenience, I create a folder in SharePoint and upload some images inside it.
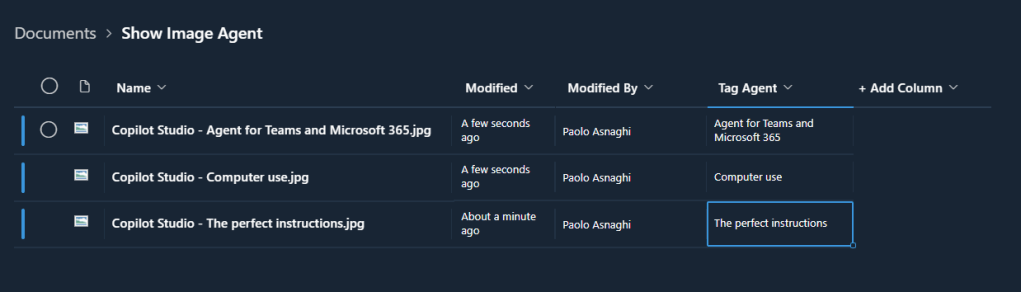
As you can see, there is a column that identifies the “tags” that I can add to each file. I then insert the description of the image.
Agent Creation
At this point, once my agent is created, I go to the “Topics” to create a new one.
The trigger will be activated through specific words and phrases:
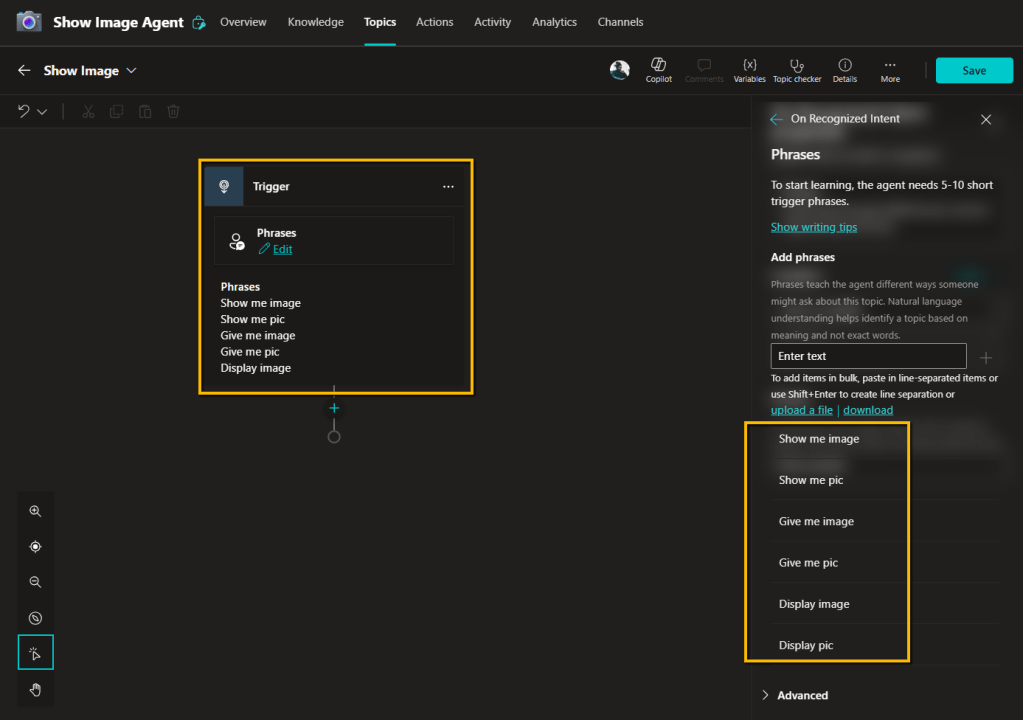
This “Phrases” trigger works better the more phrases we indicate (approximately 5 to 10 is a good compromise, but the more we put, the better).
I rename my new Topic “Show Image” and start adding the first action.
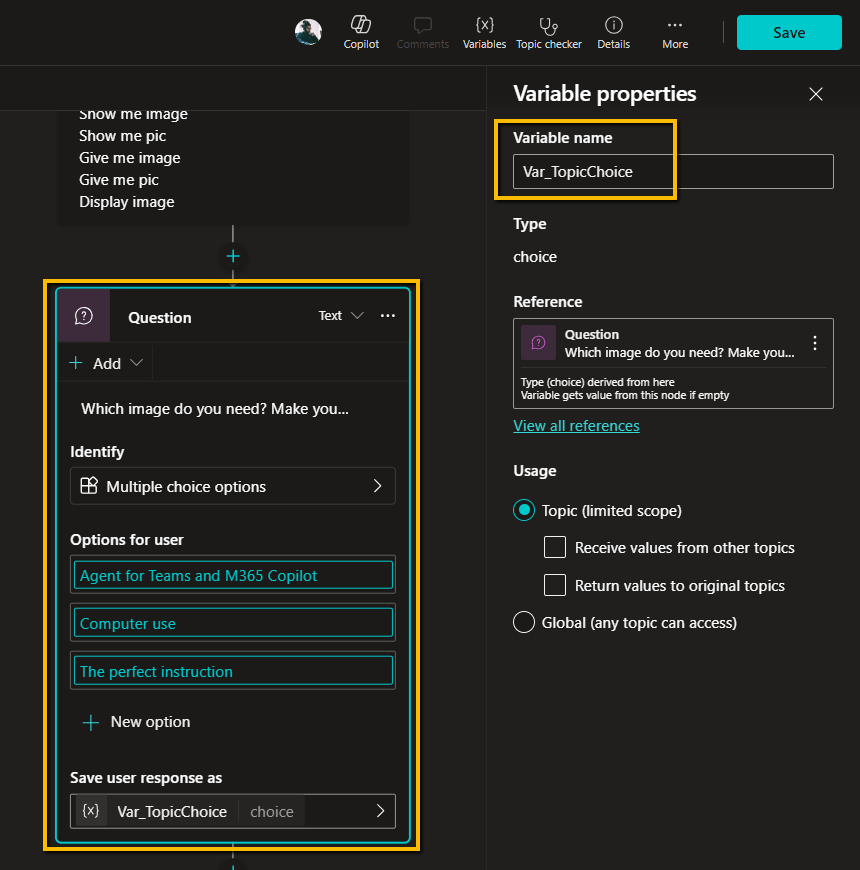
For this example, I just need to create a closed-question, selecting the “Choice” type of answer.
I then create the 3 possible choices, rename the output variable, and save.
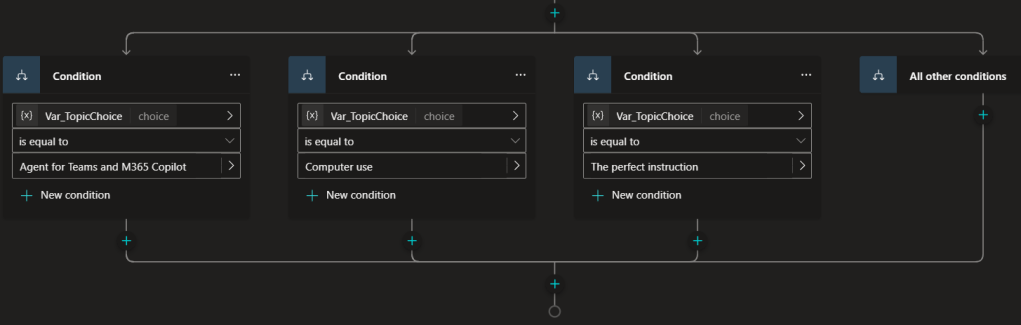
Now I create a condition for each choice created above so that my “logical tree” can satisfy all needs.
I perform an intermediate test to see if the trigger is activated and the condition works.
During our agent’s tests, we have the possibility to see the path taken by the agent itself. In fact, Copilot Studio, at this stage, highlights the track.
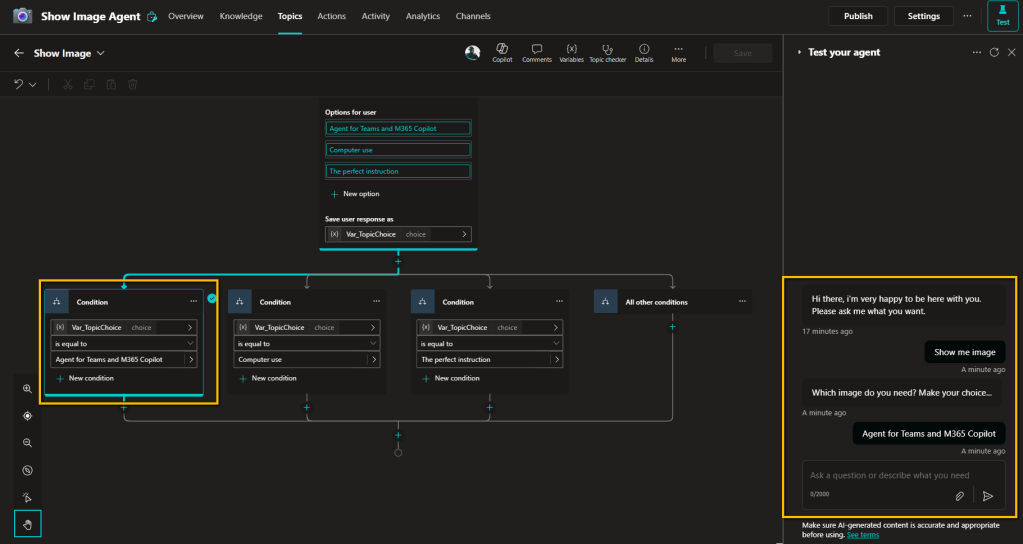
Everything works! Good!
Once the various branches of the condition are defined, we can take care of the subsequent actions.
Adaptive card
Adaptive Cards are a framework used in Power Platform to create interactive and dynamic user interfaces that can be integrated into various applications and services.
Already present in Power Automate and Apps, we can also use them in Copilot Studio.
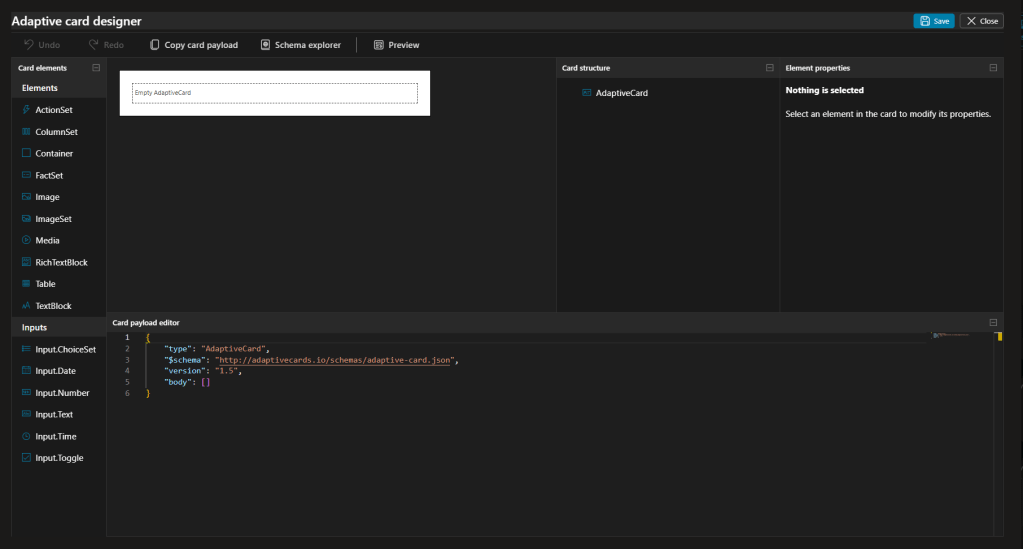
The really interesting thing is that in Copilot Studio, unlike Automate and Apps, there is a specific designer called “Adaptive card designer” and the related “Card elements” and “Card payload editor.”
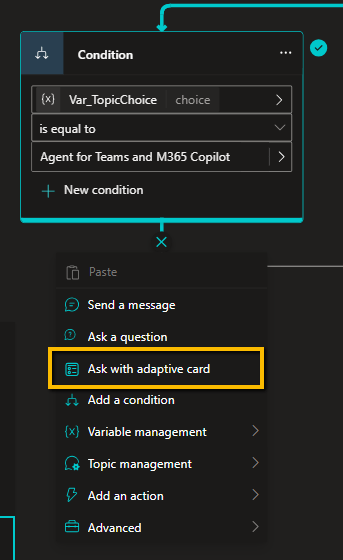
I select, as in the image above, “Adaptive card” and then “Edit adaptive card.”
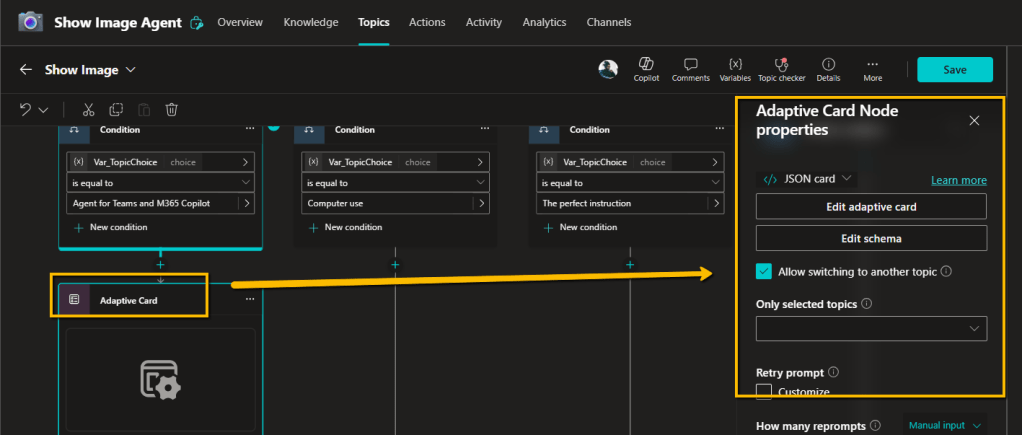
This opens the designer based on JSON.
I paste the following code into the Card payload editor box.
{
“type”: “AdaptiveCard”,
“$schema”: “https://adaptivecards.io/schemas/adaptive-card.json”,
“version”: “1.5”,
“body”: [
{
“type”: “Image”,
“url”: “https://___/Copilot%20Studio%20-%20Agent%20for%20Teams%20and%20Microsoft%20365.jpg”,
“altText”: “Agent for Teams & M365 Copilot”
},
{
“type”: “ActionSet”,
“actions”: [
{
“type”: “Action.OpenUrl”,
“title”: “View in a full screen mode”,
“url”: ” https://___/Copilot%20Studio%20-%20Agent%20for%20Teams%20and%20Microsoft%20365.jpg “
},
{
“type”: “Action.Submit”,
“title”: “Ok”,
“data”: {
“info”: “Infos”
}
}
]
}
]
}
Here’s what happens visually.
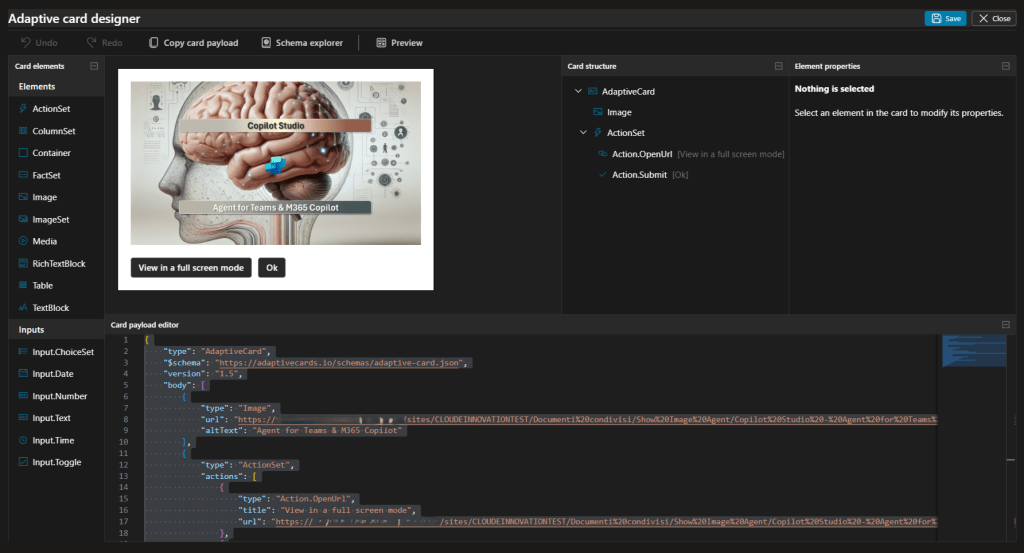
A preview of the card is shown, I click on “Save” and then “Close.”
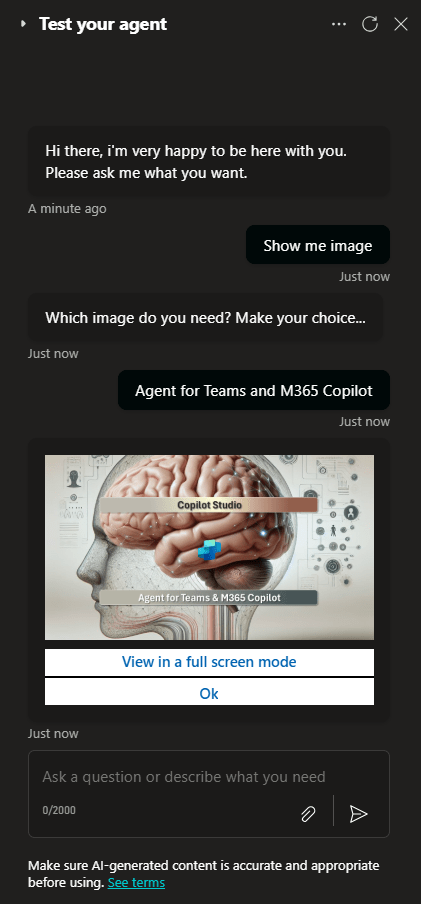
Let’s test these latest changes.
Conclusions
Copilot Studio allows us to do a lot. By combining functionalities, tools, and various characteristics within the entire Power Platform, a significant number of needs can be resolved, creating unique solutions.
Boom, done!
Follow me:

Leave a comment